Screens the AI Assistant generates start out with placeholder content. This guide is the wiring. You describe a REST endpoint once in CONNECT → API Calls, and then reference it from anywhere: a component’s value, a button’s tap handler, or another action’s success branch.By the end you will have a saved API call, and you will know how to bind it to a component and how to fire it from an action.Prerequisites
A NativeFlow Studio project, open and loaded. API calls are stored per project.
Nothing else for the endpoint form, the import dialog or the API Call action. All of it works on a project with no backend connected.
The orange banner in the AI Assistant panel about no backend being linked is unrelated. Everything in this guide works with that banner showing. Supabase is a separate pane under CONNECT → Database.
Defining a REST endpoint (a Common Headers preset, API Key auth), saving it, and attaching it as an API Call action on a button's On Tap.
The recording above is a real, unscripted session covering the two fully-completable parts of this flow: defining an endpoint by hand (name, URL, a Common Headers preset, switching Auth Type to API Key, Save) and attaching the saved call as an API Call action on a button’s On Tap (the populated dropdown, On Success/On Error, View as Code). It runs at automation speed with no narration, and every action in it is real — the temporary call and action it creates are both removed again by the end of the recording.
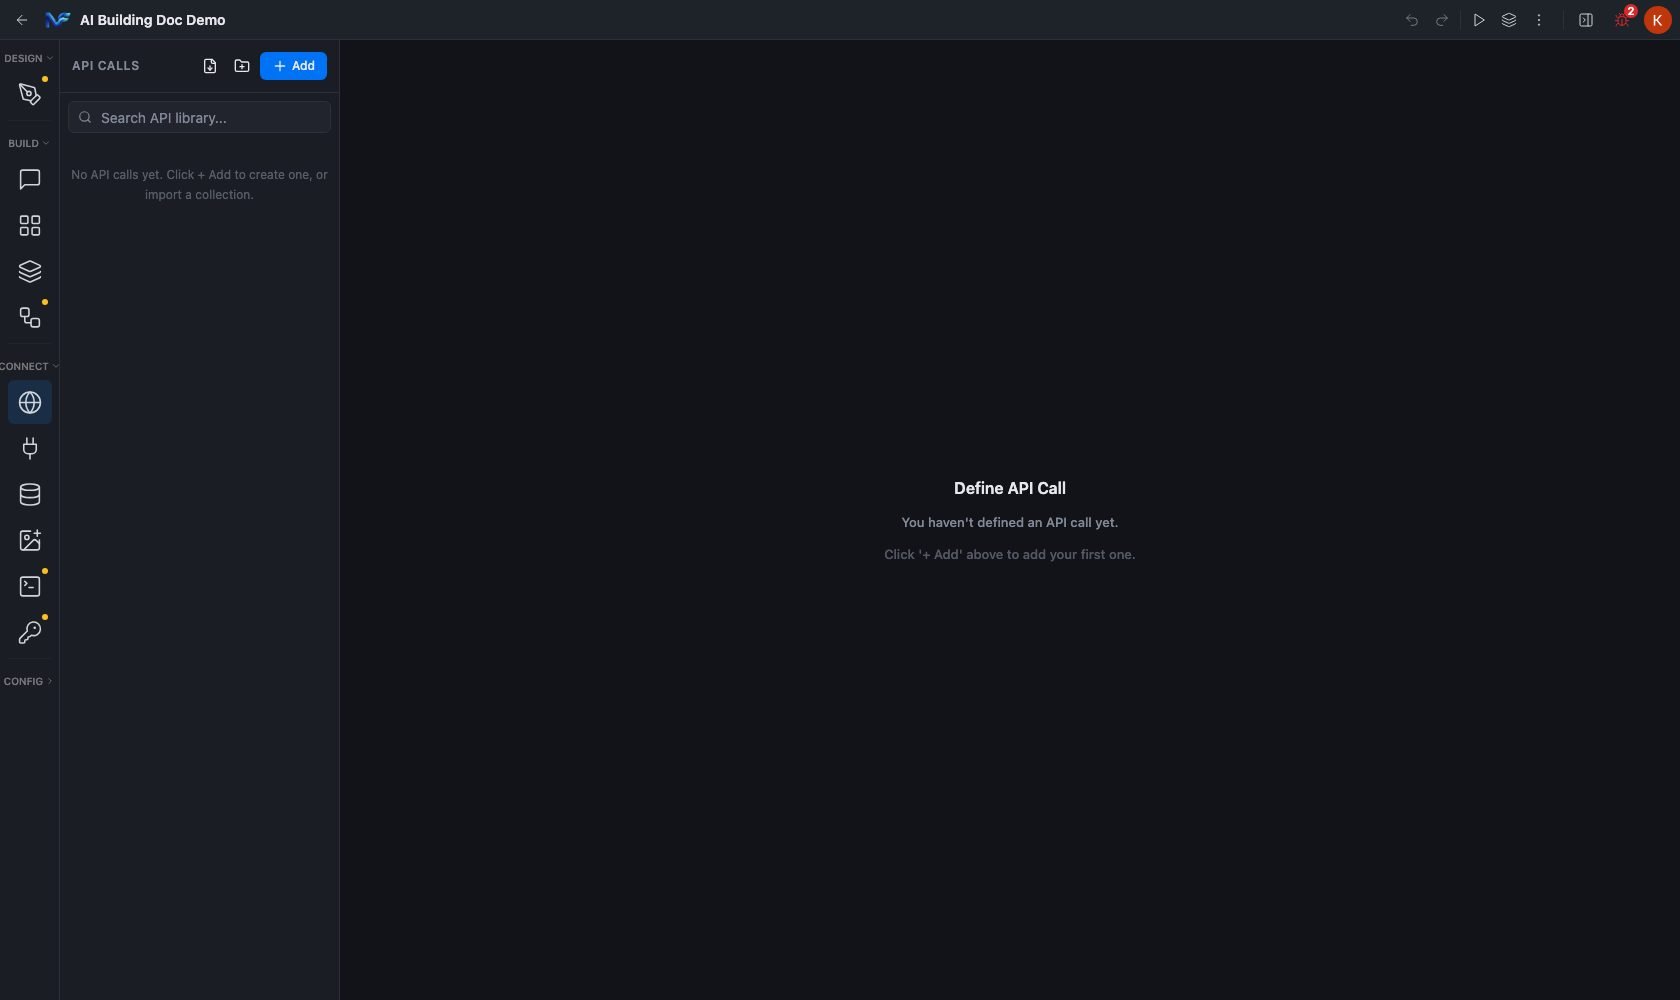
In the left sidebar, expand CONNECT and click the globe icon. The group starts collapsed and its buttons are not in the page until you expand it.On a project that has never defined one, you get a two part empty state: a left column reading No API calls yet. Click + Add to create one, or import a collection, and a main area reading Define API Call.Three controls sit in the pane header: Import API collection (the file icon), New folder, and a blue + Add. Below them is a Search API library box.
The API Calls pane empty state, with the import, new folder and + Add controls in the header
+ Add does not just open a blank form. It immediately creates and saves an empty call named Untitled. The top bar flashes Saving… and the entry survives a full page reload.If you click + Add and then navigate away, you leave a stray Untitled row behind. Click Cancel to remove it again.
2
Fill in name, method and URL
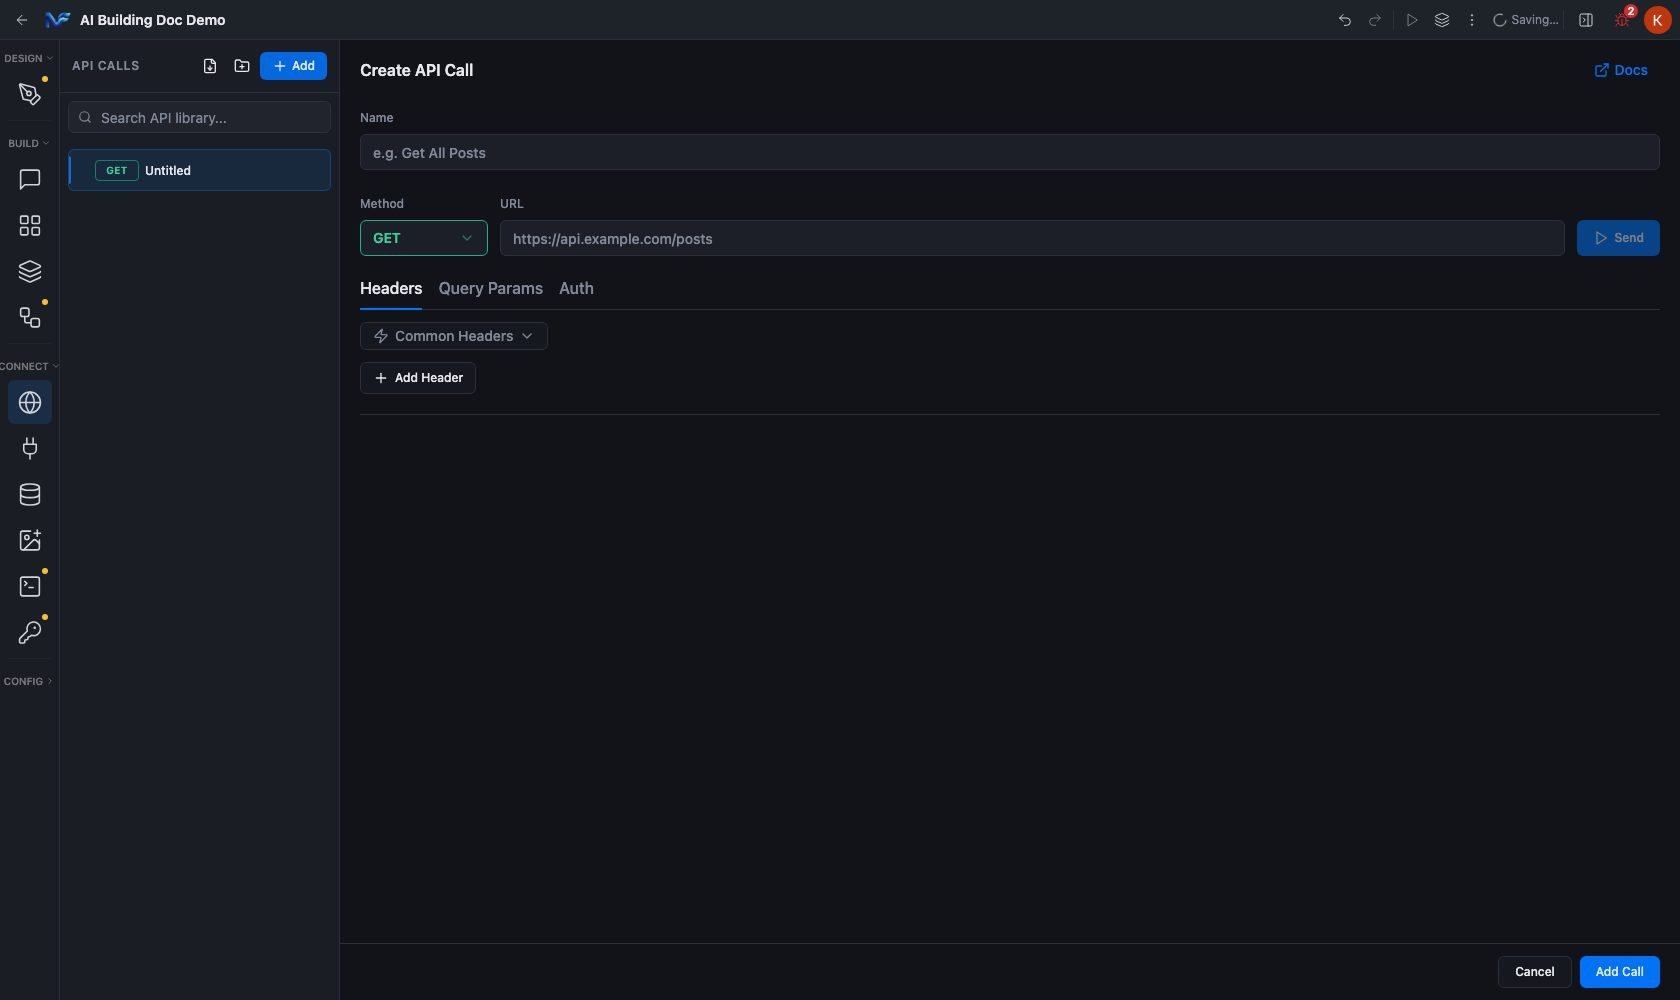
Click + Add. The main area becomes Create API Call with three top level fields and a Send button.
Method offers exactly five options, colour coded in the dropdown: GET, POST, PUT, DELETE, PATCH.The tab strip below depends on the method you pick.
Method
Tabs
GET, DELETE
Headers, Query Params, Auth
POST, PUT, PATCH
Headers, Query Params, Body, Auth
The Create API Call form: Name, the green GET method dropdown, the URL field, the Send button and the Headers / Query Params / Auth tabs
3
Add headers and query parameters
+ Add Header appends a row with an enable checkbox, a Key field, a Value field, a { } button and a delete button. Query Params uses the identical row shape with its own + Add Parameter button.A Common Headers dropdown beside the button offers four one click presets, and only four:
Preset
Content-Type: application/json
Accept: application/json
Accept: text/html
Cache-Control: no-cache
On POST, PUT and PATCH you also get a Body tab: a single JSON textarea with the placeholder {"key": "value"}, plus an Insert variable button.
4
Pick an auth scheme
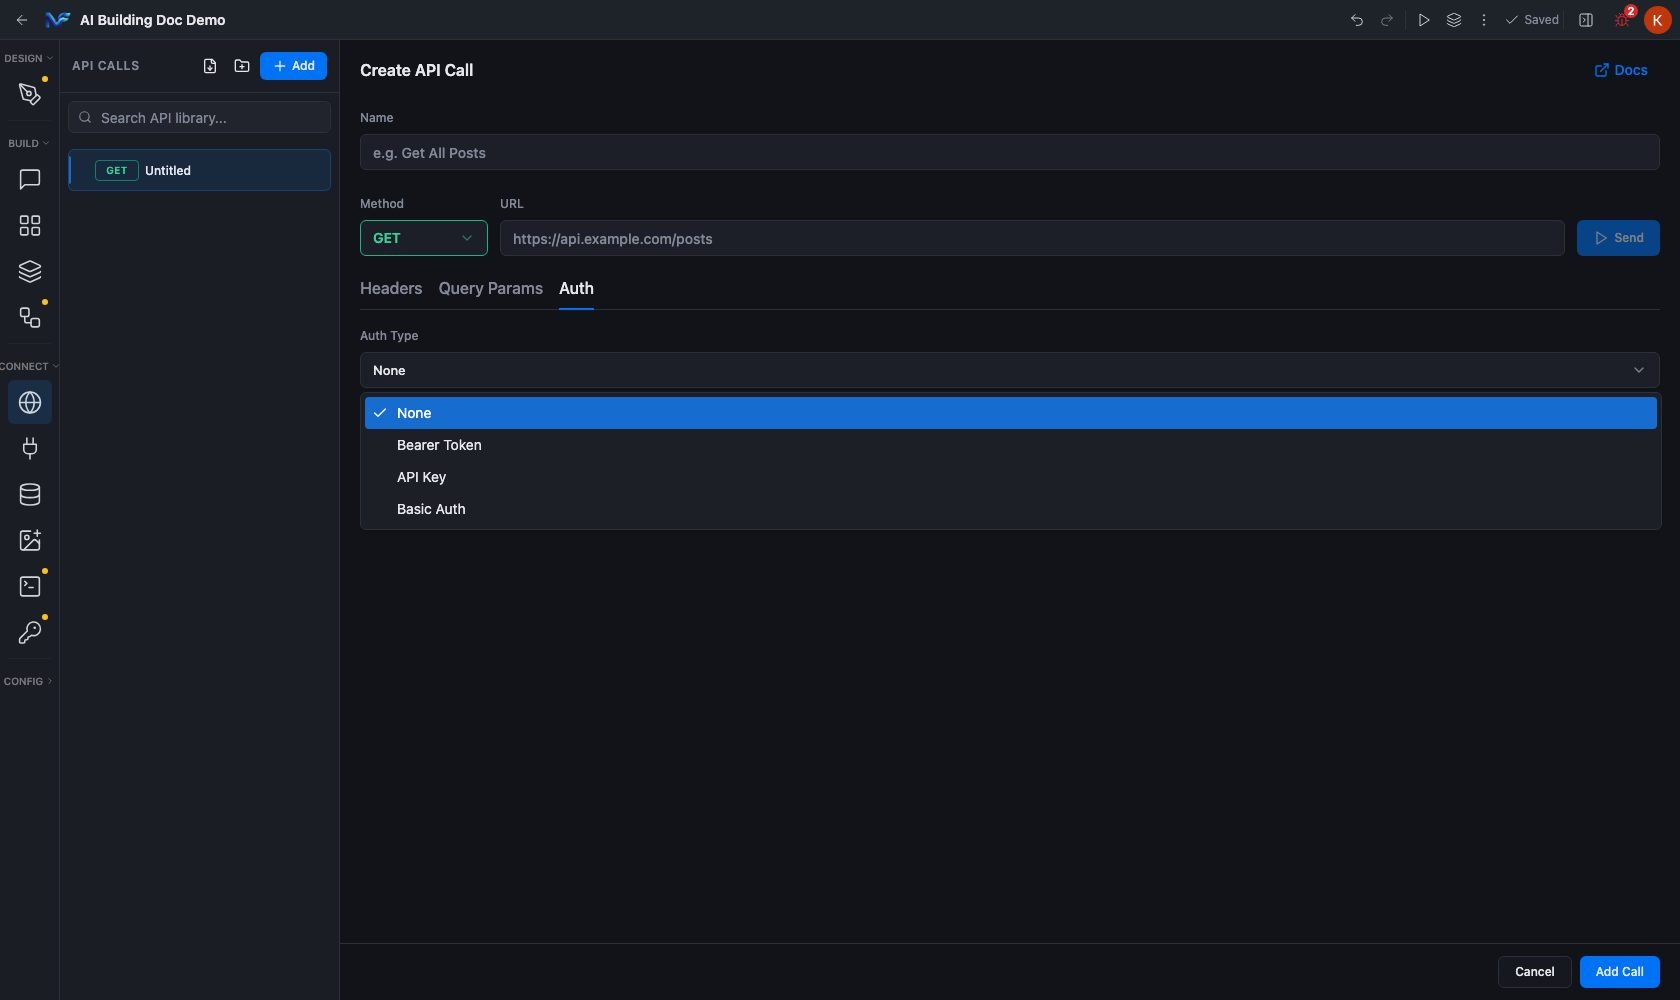
The Auth tab offers four schemes, and no more.
Auth Type
Fields it reveals
None
The default. No fields
Bearer Token
Token. A hint below reads Header: Authorization: Bearer <ref>
API Key
Key Name (such as X-API-Key), Key Value, and Location, a dropdown set to Header by default or Query Parameter
Basic Auth
Username, and Password as a masked input
The Auth Type dropdown open, listing None, Bearer Token, API Key and Basic Auth
All three credential bearing schemes carry the same footnote: Auth headers are injected automatically during test and code generation.
Every credential field accepts a {{variable}} reference instead of a literal, so you do not have to paste a secret into the form. Point it at a page or app variable instead.
5
Save the call
The moment you type a Name, the heading switches from Create API Call to Define API Call and the footer switches from Cancel / Add Call to Delete / Cancel / Save.Save raises a toast reading API call saved. The call appears in the left list as a method badge, its name and its URL, plus a small badge for its auth scheme (KEY for API Key, BA for Basic Auth).
Creation is eager, editing is not. + Add persists an empty record straight away, but field edits are only written on Save. A call you fill in without saving comes back as Untitled with empty fields after a reload.Delete removes the call immediately, with no confirmation step.
If you already have a spec, skip the form. The Import API collection button in the pane header opens a dialog that takes two sources.
Source
Accepted
Postman v2.1
A .json collection export
OpenAPI / Swagger
.json or .yaml, versions 2.0 and 3.x
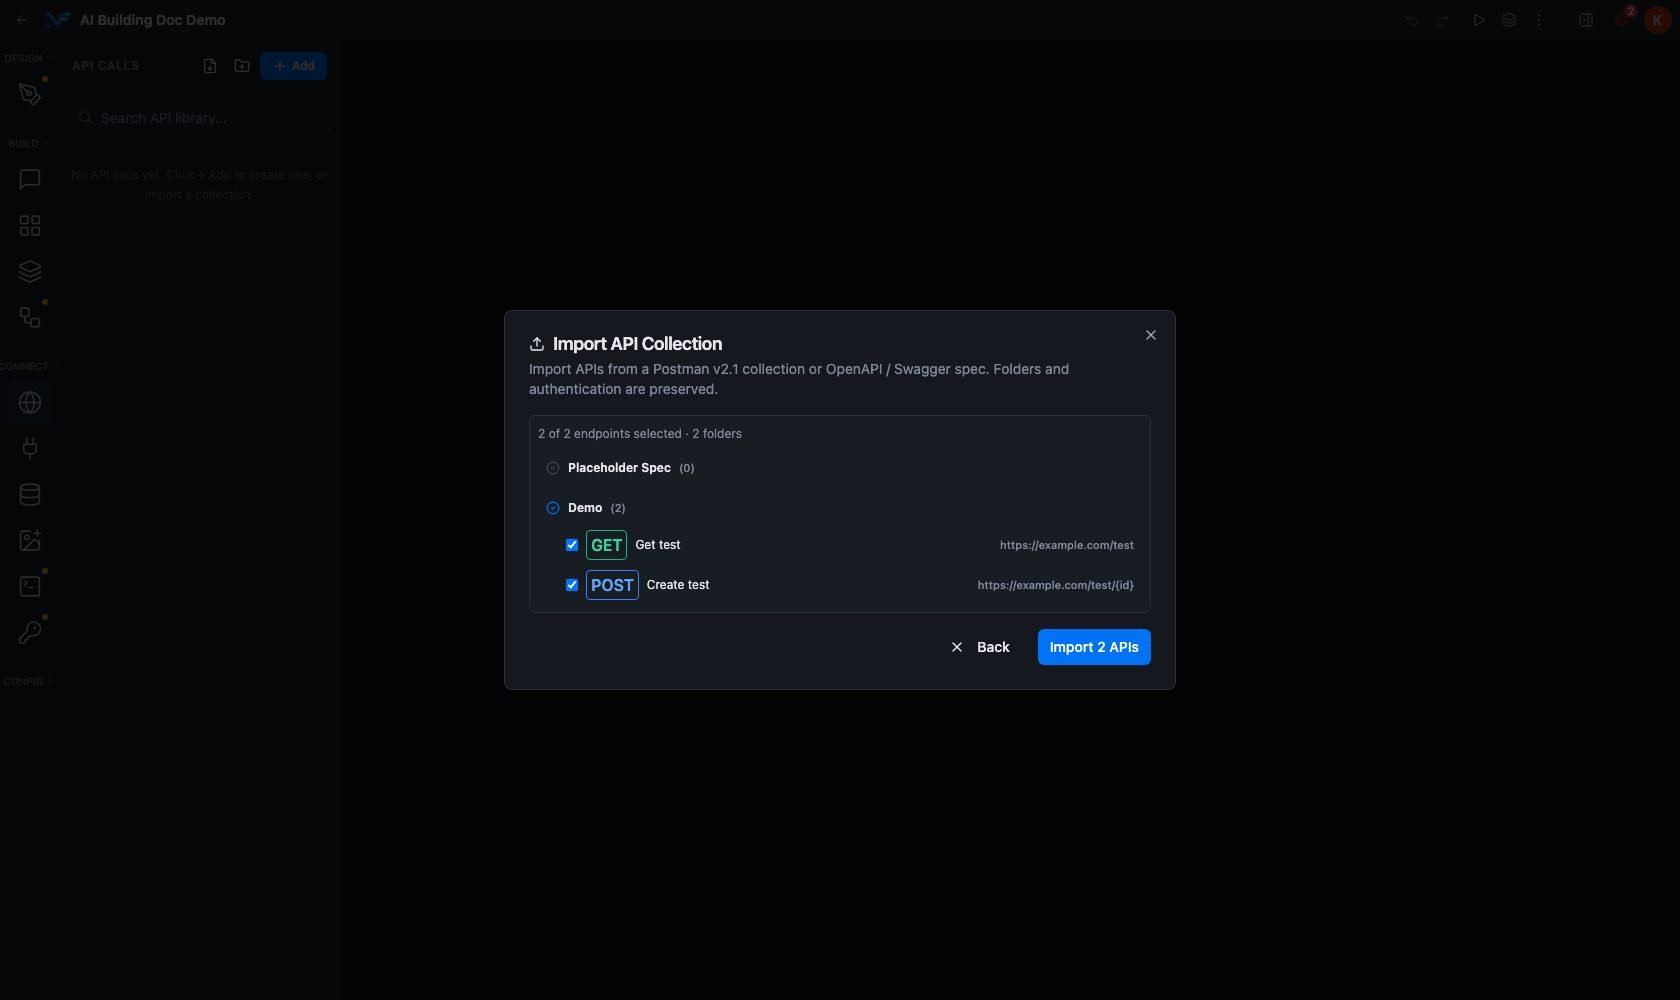
The dialog’s own summary: Import APIs from a Postman v2.1 collection or OpenAPI / Swagger spec. Folders and authentication are preserved.You can Upload file or paste into the …or paste contents textarea. Parse and Preview parses what you gave it and shows you what it found before importing anything: a count line such as 2 of 2 endpoints selected, 2 folders, a folder tree taken from the spec’s own tags, a checkbox per endpoint and per folder, and each endpoint’s method, summary and resolved URL. The commit button is labelled with the count, for example Import 2 APIs.
The import preview: a count line, a folder tree with checkboxes per endpoint, and the Import 2 APIs button
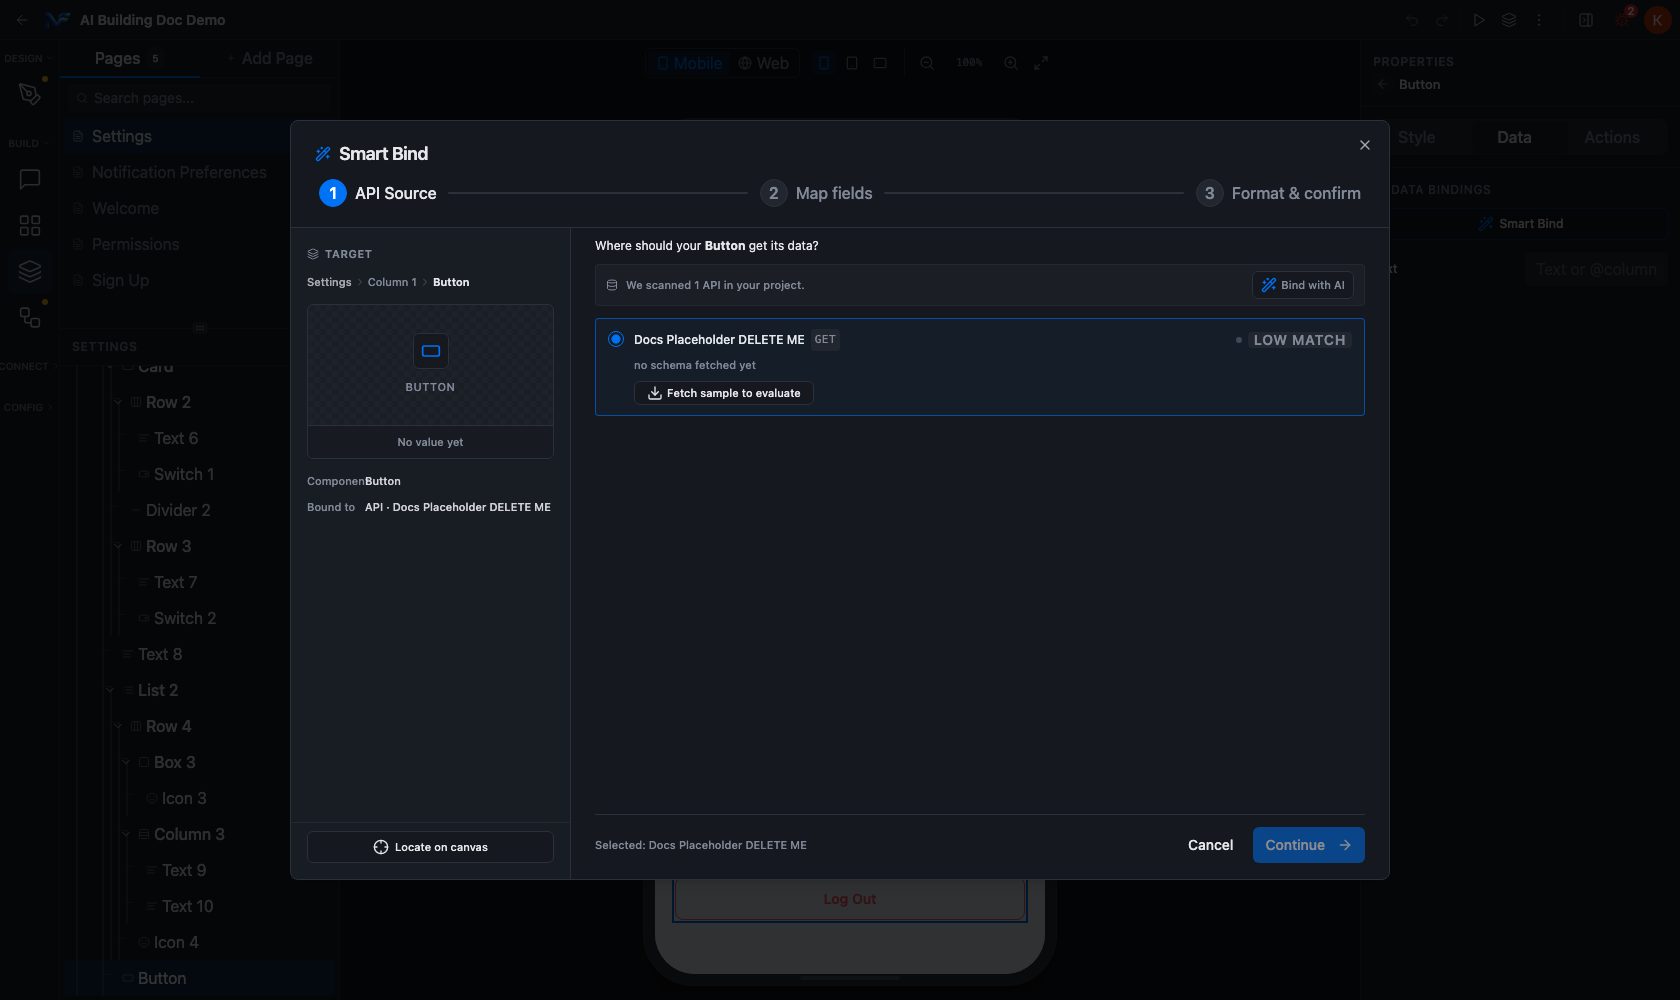
Select a component on the canvas. The Properties panel shows three tabs, Style, Data and Actions. Data is the one that consumes APIs, and what it shows depends on whether any call exists.With no API defined, it is a hint: Add API calls in the API panel to bind data to this component, above a Text row placeholdered Text or @column.With one API defined, that hint is replaced by a Smart Bind button. The only difference is the existence of one saved call.Smart Bind opens a three step wizard: 1 API Source, 2 Map fields, 3 Format and confirm. Step 1 shows a TARGET panel on the left with a breadcrumb to the component, a live preview tile, the component type, what it is bound to and a Locate on canvas button. On the right it asks Where should your Button get its data?, reports what it found (We scanned 1 API in your project), offers a Bind with AI button, and lists one radio row per API with a match rating.
Smart Bind step 1: the TARGET panel and the API list with its match rating
Do not confuse the two Bind controls. The Style tab also has a Bind shortcut on text content, but that one opens a component picker listing the other components on the page. That is component to component binding and has nothing to do with APIs.
Select a component, open the Properties panel’s Actions tab, expand an event such as On Tap, and pick API Call from the DATA group of the action catalog. It is described there as Trigger a configured API call.
The API Call action’s dropdown is populated from the CONNECT → API Calls list. It is gated on having an API call defined, not on having a backend connected.If it opens empty, go and save a call. Connecting Supabase is neither necessary nor sufficient.
Two more things this form gives you:
A banner above the event list reads Loading Auto-Configured. Button will show spinner and disable during API call. Loading state is managed automatically. You do not wire a loading state by hand for a Button that calls an API.
On Success and On Error are real, expandable branch rows, each opening the same full action catalog. That is how you chain: an API Call whose success branch is another API Call, and whose error branch is a Show Toast.
A View as Code toggle under the action list opens a small read only panel listing the sequence in plain language, such as 1. API Call. It is a summary of the chain, not generated source.
Studio uses two different notations in two different places.{{ ... }} in an API call’s own request. The Body tab states the rule in full: JSON payload. Use {{ }} to pull live values from the screen, also works in the URL, params and header values. Reach inside an object or list variable with .key and [0], e.g. {{ signup.user.address.city }}.So the scope is the screen’s variables, the path walks objects with .key and lists with [0], and it works in the URL, query param values, header values, the JSON body, and the auth credential fields.An Insert variable button beside the body field opens a picker of what is actually in scope. On a Sign Up page that was a single entry, sign_up.isLoading, which confirms the scope prefix comes from the page name.@column in a Data Binding. The Data tab’s field placeholder is Text or @column, a different notation that reads as a reference into a row of a fetched result rather than into a page variable.