A project starts with a single page called Page 1. Everything you build sits on a page, the canvas shows one page at a time, and every navigation action in Studio points at a page by name. So a second screen in your app means a second page here first.The Pages list is where all of that happens: add, switch, rename, save as a template, delete.
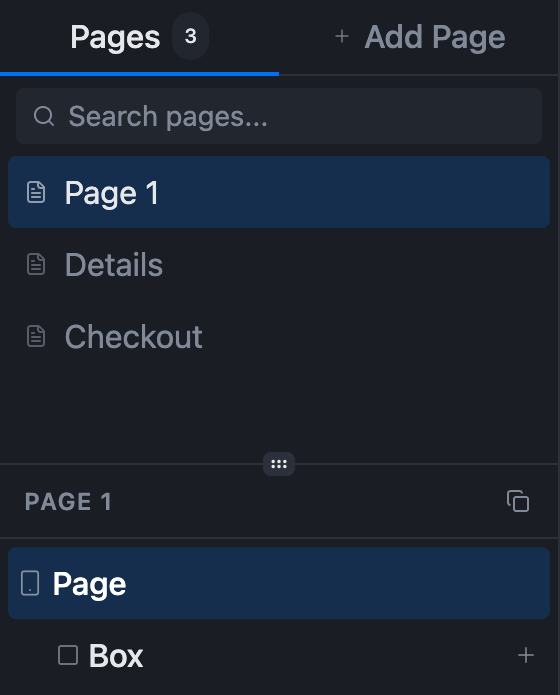
Open the Component Tree panel from the left sidebar — the layers icon. The Pages list sits at the top, with a count beside it and an + Add Page tab next to it.Everything below the divider is the active page’s component tree, headed with that page’s name. Switch pages and the tree below switches with it.
The Pages list with three pages. Page 1 is active, so the tree below it is Page 1's.
Adding a page from the Basic template picker, renaming it inline, switching pages, and deleting it.
The recording above is a real, unscripted session, on a page created purely for the recording and deleted again by the end — it never touches any of the project’s other pages. It runs at automation speed with no narration.
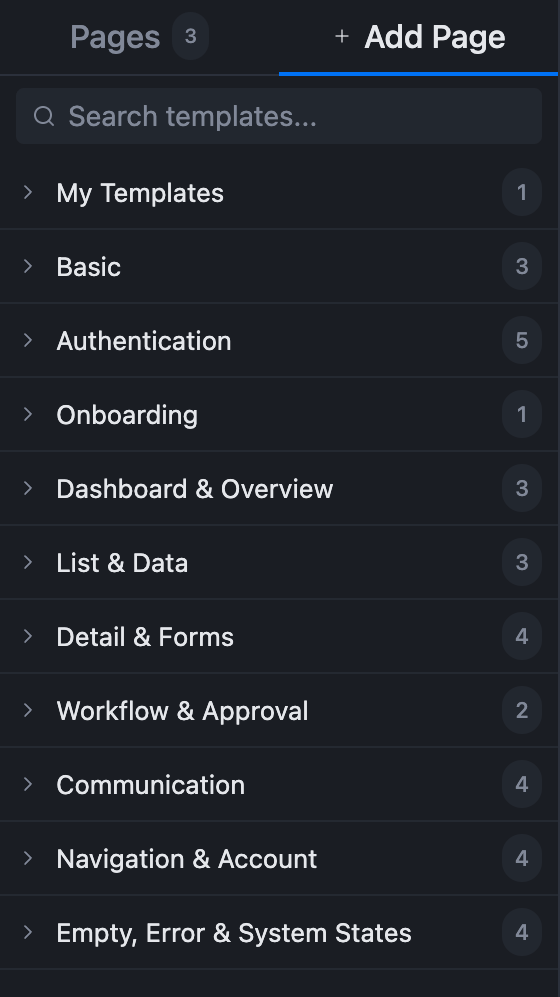
Click + Add Page. The panel swaps from the page list to a template picker — this is not a name prompt, and there is nowhere to type a name yet. You name the page after it exists.
The Add Page tab: My Templates plus ten categories, each with the number of templates in it
2
Pick a category
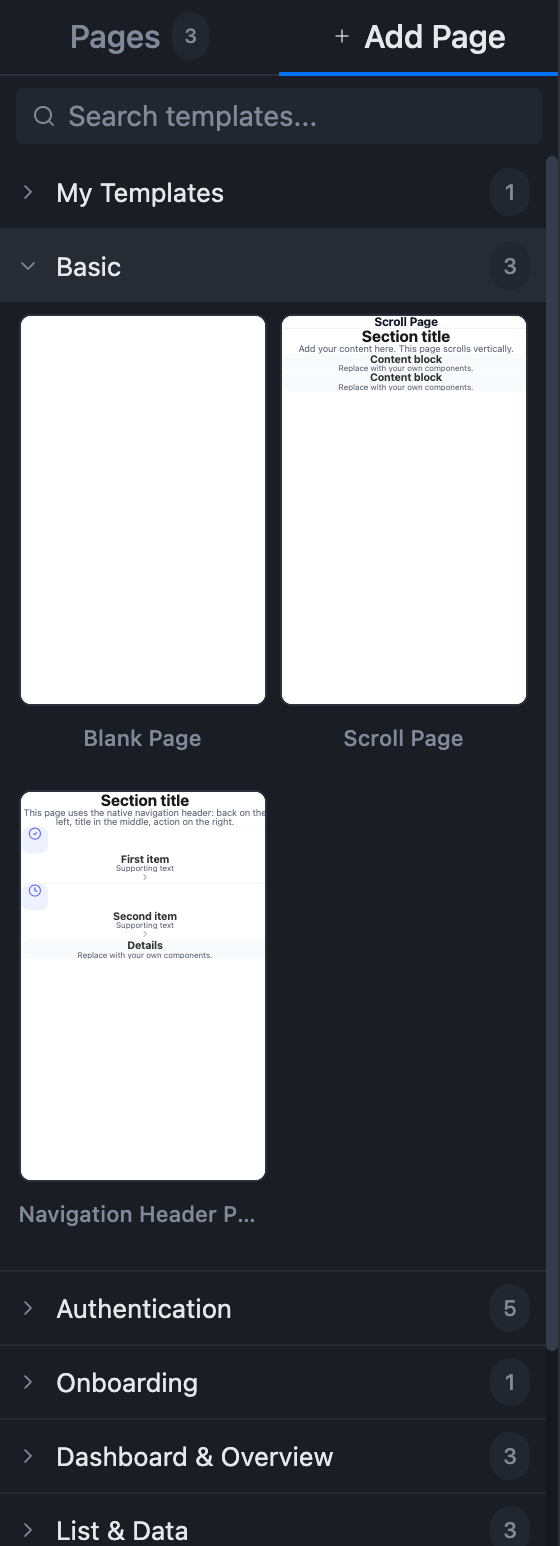
Categories expand in place. Basic holds the three plain starting points; everything else is a ready-made screen you can strip back.
Category
Templates
My Templates
Your own saved pages. Empty until you save one
Basic
3
Authentication
5
Onboarding
1
Dashboard & Overview
3
List & Data
3
Detail & Forms
4
Workflow & Approval
2
Communication
4
Navigation & Account
4
Empty, Error & System States
4
The three under Basic are the ones worth knowing by heart:
Blank Page — an empty container, and nothing else.
Scroll Page — a vertically scrolling page, prefilled with a section title and content blocks to replace.
Navigation Header Page — uses the native navigation header: back on the left, title in the middle, action on the right.
The Basic group expanded, showing Blank Page, Scroll Page and Navigation Header Page with previews
3
Click the template
The page is created and becomes the active page straight away, and the panel returns to the Pages list with the new page selected.It is named after the template, not after you: Blank Page produces a page called Blank. Add a second and Studio numbers it Blank (2), then Blank (3). Rename it next — a project full of Blank (4) is nobody’s friend.
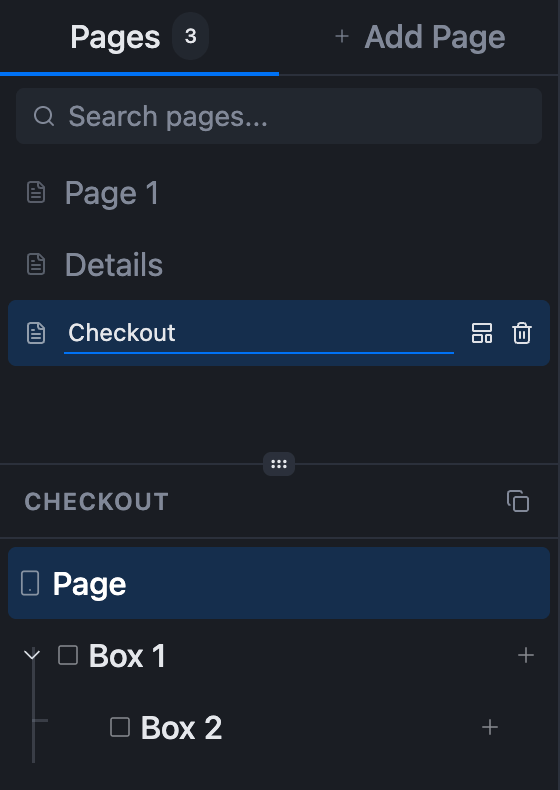
Double-click the page’s row. The name turns into an inline text field. Type the new name and press Enter.
Double-clicking a row turns its name into an editable field in place
There is no rename control in the Add Page picker, and none in the row’s hover buttons. Double-click is the whole mechanism.
Page names must be unique, and a clash fails silently. Rename a page to a name another page already has and nothing happens — no error, no message, the row simply keeps the name it had. If a rename appears not to have worked, look for the name already in use further up the list.
Give the rename a moment to save before reloading or closing the tab. Studio saves on a debounce, and a rename followed immediately by a reload can come back showing the old name.
Click any row in the Pages list. The canvas, the component tree below the list, and the Preview all follow the active page — they only ever show one page at a time.This is worth remembering when something you built seems to have vanished: check which page is selected before assuming the work is gone.
Hover a page’s row and two controls appear on the right.
Hovering a row reveals Save as template and Delete page
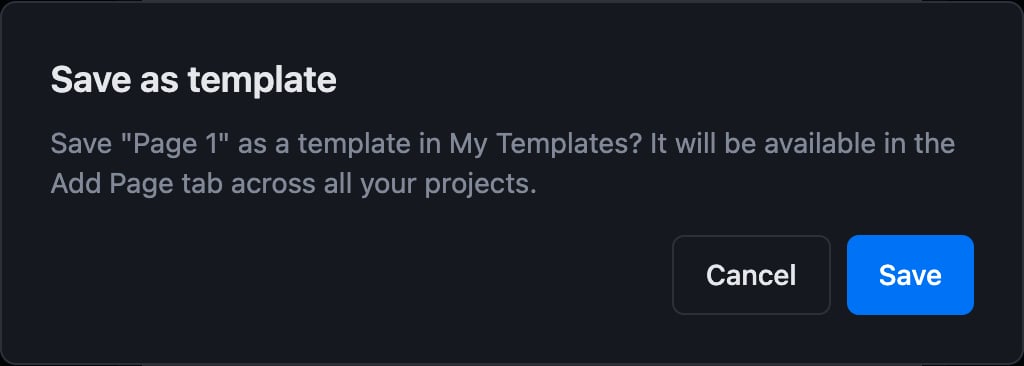
Save as template asks to confirm, and tells you exactly what it does: Save “Page 1” as a template in My Templates? It will be available in the Add Page tab across all your projects.
The Save as template confirmation
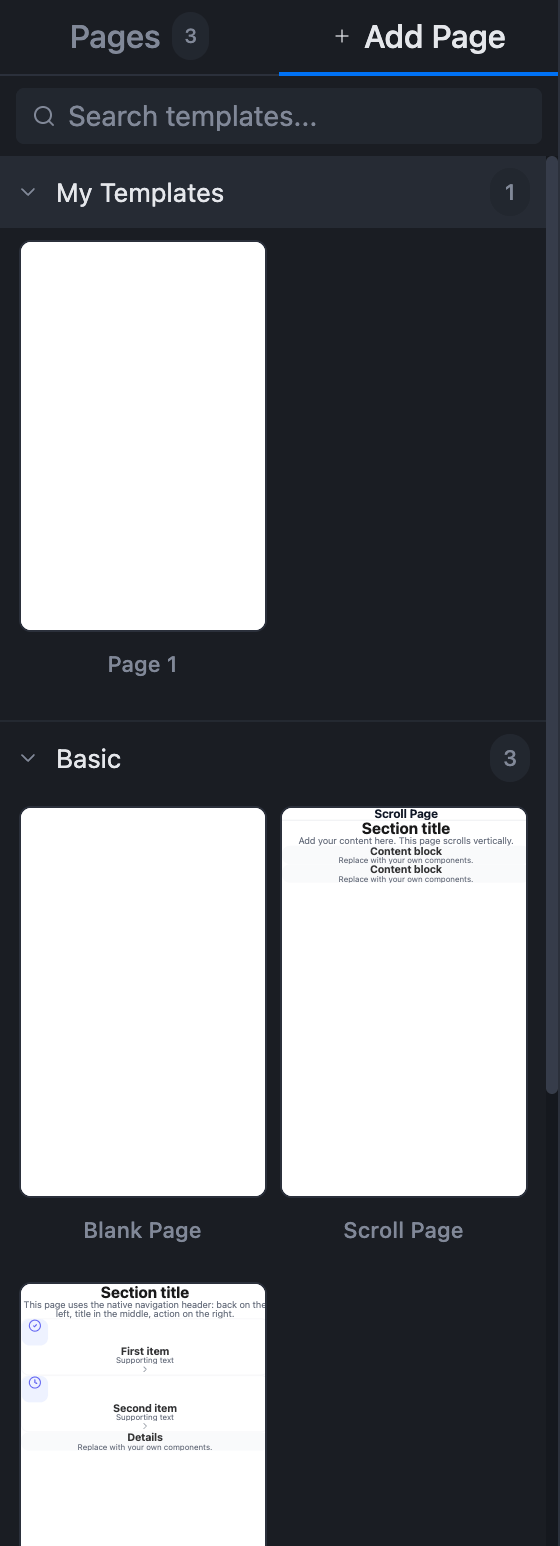
The saved template takes the page’s current name, and shows up under My Templates in the Add Page tab — in this project and every other project of yours.
My Templates after saving one page: the count goes to 1 and the page appears by name
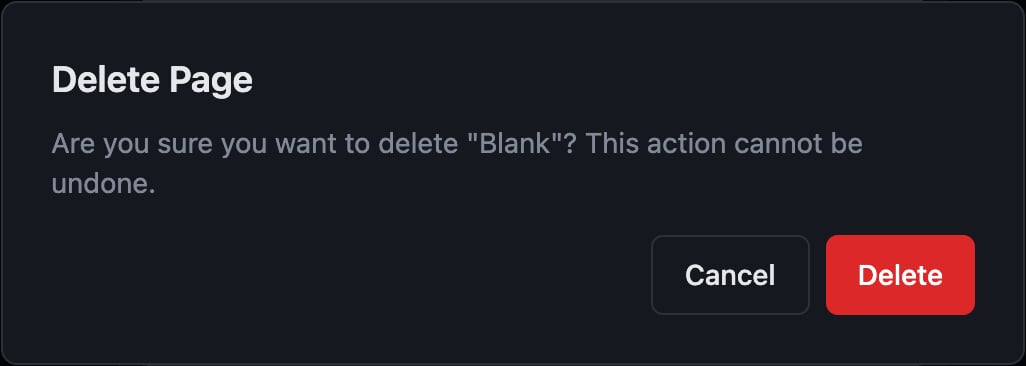
The second hover control is Delete page. It asks first: Are you sure you want to delete “Checkout”? This action cannot be undone.
The delete confirmation, naming the page it is about to remove
The dialog means it — there is no undo for a deleted page, and everything on it goes too.Before deleting, check whether anything navigates to it. A Navigate To action configured on another page pointed at this one by name, and removing the target leaves that action with nothing to open.
Navigation actions are configured per component, on a component’s own Actions tab, and Navigate To offers a Target Page dropdown listing every page in the project. A page has to exist before anything can navigate to it, which is why building a flow usually means creating the pages first and wiring the buttons second.
Pages live at the top of the Component Tree panel. + Add Page opens a template picker — 33 ready-made pages across ten categories, plus your own under My Templates — and creates the page already active, named after its template. Rename by double-clicking the row, remembering that duplicate names fail silently. Hovering a row offers Save as template, which shares that page with all your projects, and Delete page, which cannot be undone. Everything that navigates does so by page name, so the pages come first.